Showing posts with label Sewing. Show all posts

Tuesday, 29 June 2010

It's official - I'm addicted to bags

It does not happen to me often that I can make something people actually admire. My craft experiences in school were always of the order of "Highly Commended" (in other words, quite nice, but not good enough for a real prize). My mother sent me on a sewing course as a teenager. Unfortunately the project was to make a SUIT out of KNIT fabric. I mean how ridiculous. It was horrible. Once I had finished, I threw it away.

So you can see why I got so excited when I first tried out this bag pattern from Vanessa Christenson, and everyone started commenting on my bag:

Friend: "I love your bag. Where did you buy it?"

Me: (smugly) "I made it."

Friend: (incredulous) "What!"

Me: (faltering slightly, at the fact that my friend couldn't believe I actually made it) "Yes, it turned out well didn't it?"

Friend: (proudly) "If you sold those, I would buy one."

Me: (incredulous) "Really?"

So you see, I have now been encouraged by my stroked ego to make more of the bags that caused a temporary buzz of  fame amongst my social circle. In fact, I have made four in one sitting. I might even open an Esty shop...(one step at a time).

In the meantime I am making them as gifts. This is the one I made for my children's teacher as a goodbye gift.


The pattern was not free, but it has more than made up its value already. You can also buy the flower pattern separately if you have a thing for fabric flowers.


What I love about this bag is that the lining peeps through, and co-ordinates with the flower. It's not too fussy, but just that touch of glamorous.


I shared this on these great linky parties.

Monday, 28 June 2010

Help! I need a girl's birthday gift, now!

This Friday evening I panicked. I suddenly remembered that my daughter had a birthday party to attend the next morning. And we were going out that evening. And I had forgotten to buy a gift.

Yes, in the past, I must confess, I have grabbed the newest looking book off my children's bookshelf and wrapped it. But this party was for my daughter's best friend, and I couldn't get away with something, well, less than the best. Knowing the birthday girl is feminine and loves vintage dresses and hair accessories, I went online and found a great, easy (and free) fabric rosette pattern.


In the morning, I spent twenty minutes over breakfast making the rosettes, and then attached them to one of my daughter's pink headbands. Popped into a pretty gift bag with some tissue paper and sparkly sprinkles, it made a gorgeous, handmade gift (that would have cost a lot of money at an uptown boutique).


So if you have a girl's gift emergency, here is the pattern for the rosettes. If you don't have a headband handy, you could attach them to a hair elastic, or you could sew a little square purse and attach them to that. They make anything fabulous.

I shared this on
The Girl Creative Making Keeping It Simple  BWS tips button  UndertheTableandDreaming   Simpsonized Crafts

Saturday, 19 June 2010

Happy Coasters!

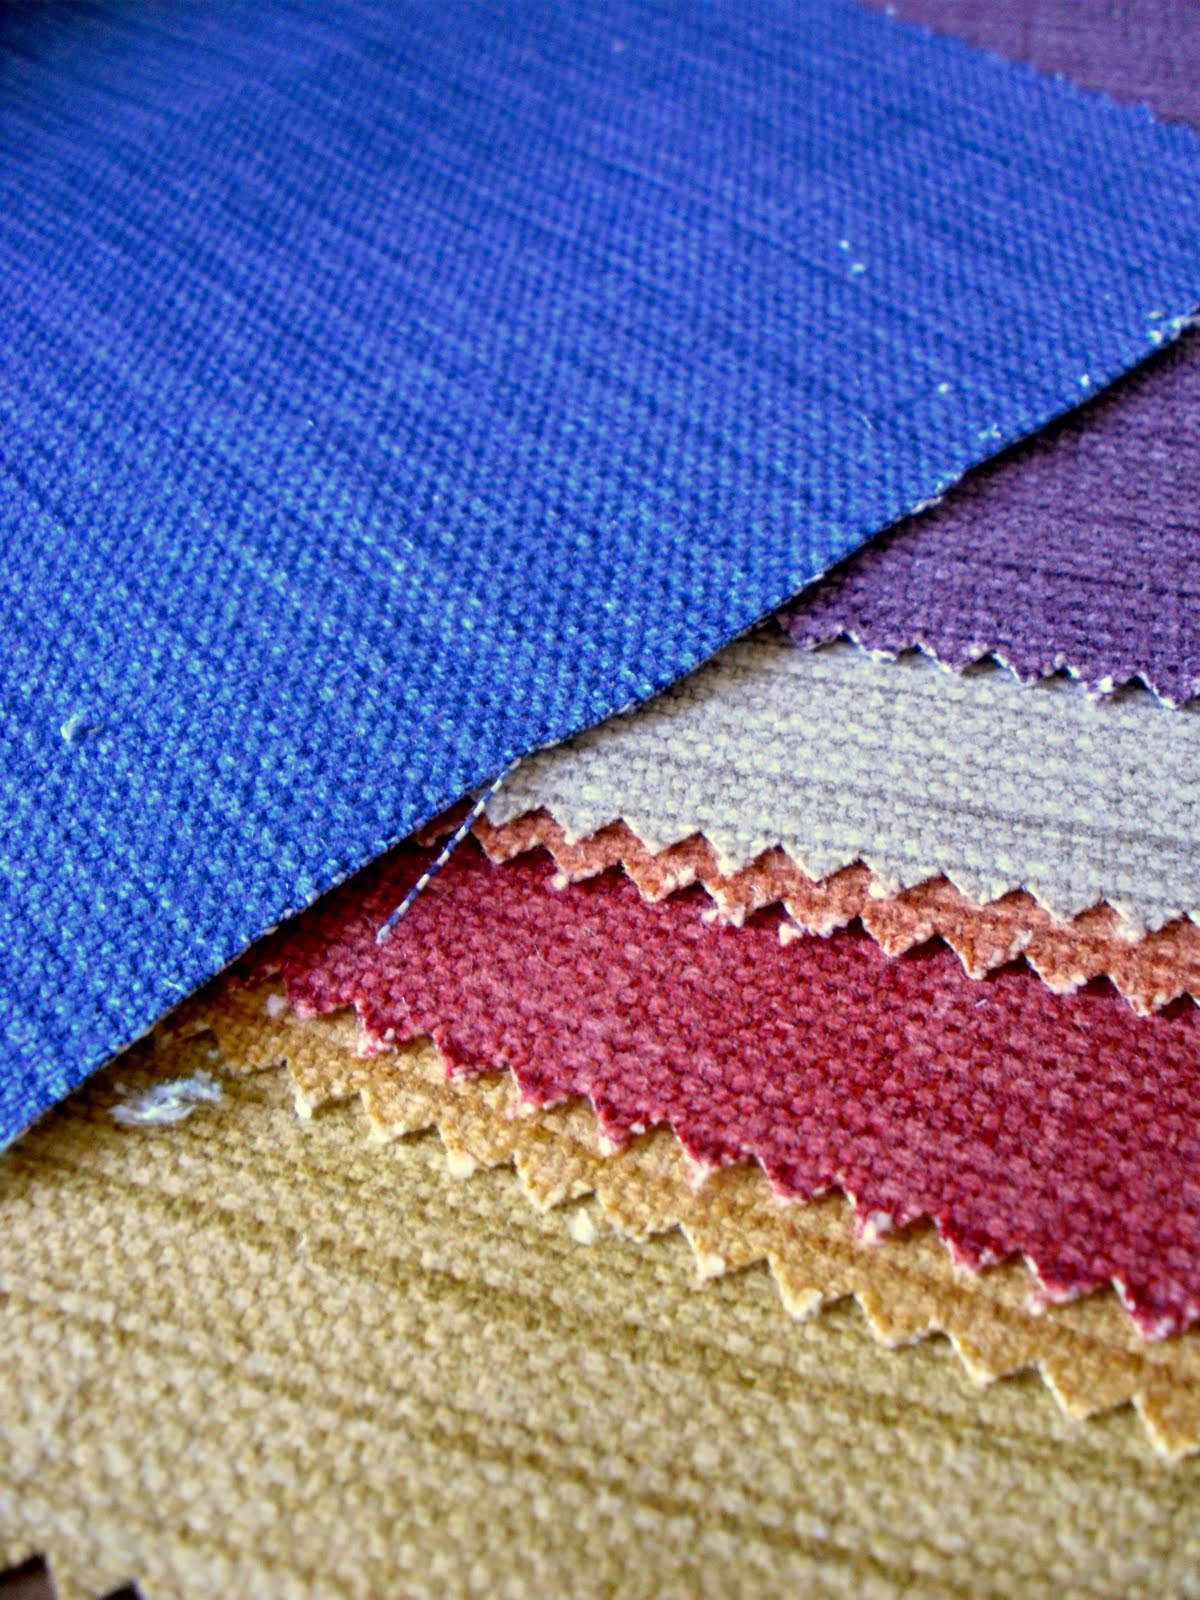
I found this great tutorial to make quilted coasters from Mother Lode. The best things about it was that my mother-in-law gave me a bag full of those little fabric swatches you get from interior decor shops. Apparently one had gone bust somewhere and she had picked them all up for a bargain. Frankly, I had no idea what to do with them. The pieces of fabric seemed too small really to make anything of consequence. But in my heart I knew that somehow, somewhere they could be useful.


So when I saw this tutorial, I was super-excited! Little squares of fabric, all co-ordinated for me already, just asking to be made into 5" square quilted coasters!


So here is the first batch I made. They aren't quite the quality to give as gifts, so I kept this set for myself and I will make some more now that I am practiced.


 I used contrasting thread so that the stitching came up clearly.


Very cute!


I shared this on
     Keeping It Simple The Girl Creative Making  All Thingz Related Photobucket 

Monday, 14 June 2010

Buttercup Bag

I have discovered the easiest and most 1950's glam handbag pattern, and it's free! I have a ton of fabric offcuts, and I have been looking for a bag pattern that will suit any fabric, and which is small enough to use pieces that are otherwise scrap. I whipped this one up this afternoon.


She's a cutie!

The pattern is from  Made By Rae. If you want to make these for your Etsy shop, you can buy her pattern with a License to Sell!

Friday, 11 June 2010

Emergency School Outing Backpack Tutorial


I told you I made a backpack on a whim at 9pm the other night, because my daughter needed one for a school outing the next day.

So here is the tutorial for an emergency backpack. Yes you can literally make this after dinner and be in bed by ten. I promise.

All you need are the following materials:

1 yard fabric (any will do, but I used a cotton print).
Thread to match
A shoelace (Yes this is an emergency. I took one out of my trainers).

To begin:

1. Cut two rectangles 10 1/2 by 7 1/2 inches out of your fabric for the base.

2. Use an old CD to trace rounded edges on each corner and cut out. I did this first on a piece of cardboard so I could keep it as a template.


3. Cut two rectangles 31" wide and 13" high out of your fabric for the body.

4. Cut two rectangles 6" wide and 20" long out of your fabric for the straps.

5. Fold each piece of body fabric in half lengthways, right sides together, and seam the 13" sides together.

6. Pin a base piece to one end of the body opening and seam, right sides together to form a bag shape with an opening at the top. Do this with both pieces. Turn one of them right side out, and leave the other right side facing inwards to form a lining and an outer piece.

7. Put the piece that is right side outside inside the piece that is right side inside so that the right sides of each part are facing each other. Pin the top edge together, and sew the seam, leaving a small hole to turn inside out.

8. Pull through the lining so that the right side of both pieces are facing outwards, and then push the lining inside the outer. 

9. Top sew the upper edge of the bag about 1/2" from the top, to form a channel for the pull string.


10. Press the bag neatly.

11. Make the straps. Fold each rectangle in half right side out, and press the fold. Open up again and fold the edge in towards the centre, wrong sides together. Press. Then fold in half again so that the raw edges are inside. Press and sew 1/4 inch from each edge. Turn over a small hem on the short edges of each strap and sew.

12. To join the straps to the bag, pin one end of each strap to the top of the bag on either side of the long seam at the back. Sew with a diagonal and square shape for strength.


13. Join the bottom of the straps with a single row of stitching at the bottom of the bag just near the corners of the base.


14. Unpick a small section of the seam at the top edge of the bag where you want your drawstring to come through, and thread the shoelace through.

You're all done!

Thursday, 10 June 2010

How you know when you are a professional blogger


No, it's not when you start making money out of advertising. It's when you mind works like this:
.................................................
(Scene: House, mess, children, dinner time.)

Daughter: Mummy, I need to take a backpack for my school-outing tomorrow. Can I use Joseph's?

Mummy: No, Joseph needs to take his one.

Daughter: But I don't have one then.

Mummy: Don't worry, you can use daddy's.

(Later, at 9pm, after kids in bed, TV on).

Mummy (thinks): I could make a backpack. A cute, girly one... no don't be silly it's too late.

Voice (in Mummy's head): But if you made it, you could do a tutorial on your blog.

Mummy (thinks): That's true. It would make a great tutorial. But really, 9pm? To start making a backpack, from scratch?

Voice (in Mummy's head): Yes, but you're getting good at this whole craft, sewing, blogging thing. I bet you could do it!

Mummy (thinks): And there's that great fabric I found clearing the cupboards out. With the pink checks and butterflies.

Voice (IMH): You see! It's a great idea! And just imagine the great photo!
...............................

It's over for me. I made the backpack, and my daughter wore it proudly this morning for her school trip. If you don't believe me, check back tomorrow for the tutorial.

Friday, 4 June 2010

Pretty summer bags make things all better

Well, I did it! Yesterday I had hoped to improve my bad day with a project in the evening, but I ended up going to bed. This morning I woke up, the sun was shining and my Vanessa Christenson pattern was waiting for me in my inbox. What a great way to start the day! As soon as the kids were off to school, I cleared a space at the kitchen table and began.


I dug around in my scrap basket and found this gorgeous coarse weave fabric. Just enough!


Because it is an upholstery fabric, it has its own stiffness and didn't need interfacing.

Vanessa's pattern was incredibly easy to follow. I bought it in her shop, and I feel it was well worth $7. This bag was so easy to make, I am going to run up a few to keep for gifts (and hey, I may even sell some on Etsy!)


By 11am I had made the lining, the outer and the handle. Then I made a mistake, and sewed the lining together with the outer, with the handle on the wrong side. So I had to unpick it and fix!! Despite this little problem, I had finished the main bag by 12pm and just had the flower to do.


The bag is lovely without a flower, but it needs it to add that extra style...


I am thrilled with the result! The next one will be in creams. I reckon I will be able to make one in an hour now that I have the hang of it.

It certainly made me feel better about today - I have accomplished something...now for that sunshine.

Wednesday, 12 May 2010

TOAST

They're crazy expensive, but I think their clothes are simple enough to be a great inspiration for those brave enough to design, cut and sew their own dresses at home. Take a look at the new colours of the season at Toast.

Related Posts with Thumbnails

Blog Rankings

Lifestyle Blogs - Blog Rankings
 
Web Analytics